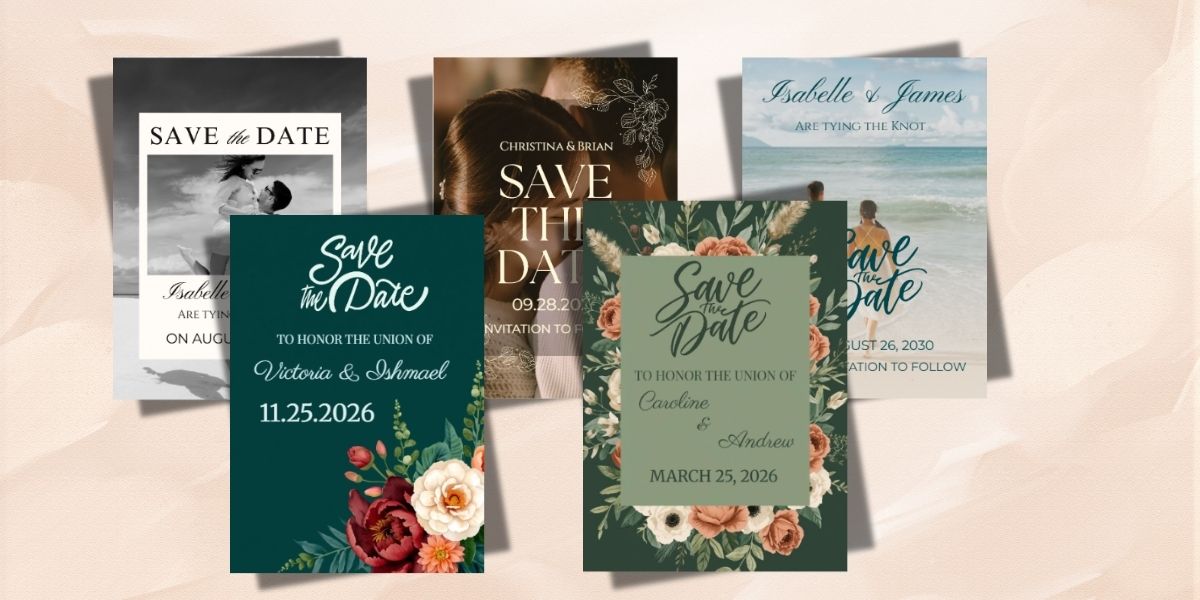
DIY Save the Date Ideas That Look Professional and High-End
When it comes to wedding planning, Save the Date cards set the tone for your big day and build anticipation among your guests. While professional printing services offer polished results, many couples today are leaning into DIY save the date ideas. With the right techniques, materials, and a touch of creativity, you can create stunning Save the Date announcements that look just as high-end and sophisticated as those from professional designers.
In this guide, we'll explore a variety of DIY Save the Date ideas perfect for wedding invitations. These ideas blend style, personalization, and quality—helping you impress your guests while staying budget-friendly. Whether your wedding style is classic, rustic, modern, or whimsical, there’s something here to inspire your creativity.
Why Choose DIY Save the Date Invitations?
Choosing to craft your own Save the Date cards comes with numerous benefits:
- Personalization: You can tailor the design, colors, and fonts to perfectly match your wedding theme and personality.
- Cost-Effective: DIY projects often save money compared to custom-printed cards.
- Creative Control: You have complete freedom to experiment with unique formats and materials.
- Memorable Keepsakes: Handcrafted cards can feel more personal and meaningful to your guests.
With these advantages in mind, here are professional and high-end DIY Save the Date ideas to help you achieve a flawless look.
Top DIY Save the Date Ideas That Look Professional
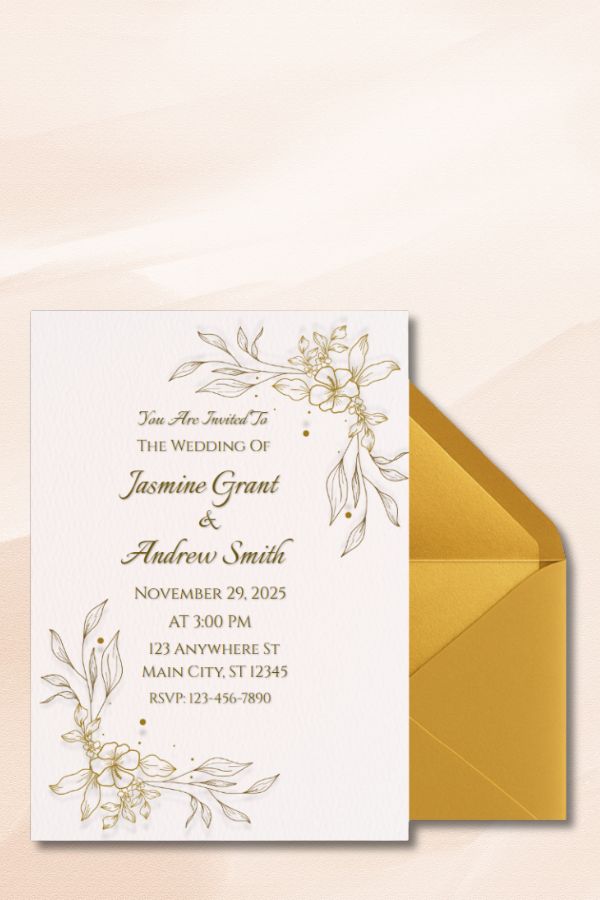
1. Elegant Calligraphy on Quality Paper
One of the simplest ways to give your Save the Date cards a high-end appearance is to use beautiful calligraphy coupled with premium cardstock. If your handwriting skills are limited, you can:
- Use calligraphy fonts on your computer and print the cards on textured cotton or linen paper.
- Consider hiring a local calligrapher to write your names or details on DIY-printed cards for a hybrid approach.
- Choose classic script fonts like “Copperplate” or “Bickham Script” for a timeless look.
Choosing foil-stamped accents or embossing effects with DIY kits can further elevate the elegance.
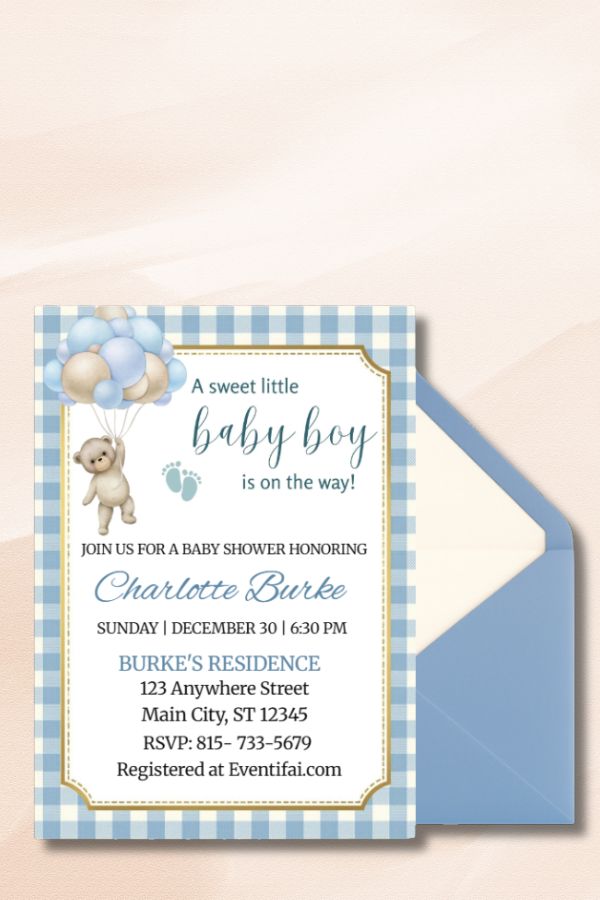
2. Minimalist Typography with Monochrome Palette
Minimalism is trending in wedding stationery. By focusing on clean, crisp typography and a monochrome color scheme, your Save the Date cards can radiate modern sophistication. Tips for this style include:
- Use sans-serif fonts such as “Helvetica” or “Futura” for a sleek, contemporary feel.
- Experiment with layout by using ample white space and alignment grids.
- Print on smooth matte cardstock for a luxurious texture.
- Add a simple foil imprint for emphasis if possible.
Less is often more in this style, giving your cards a professional edge without overwhelming design elements.
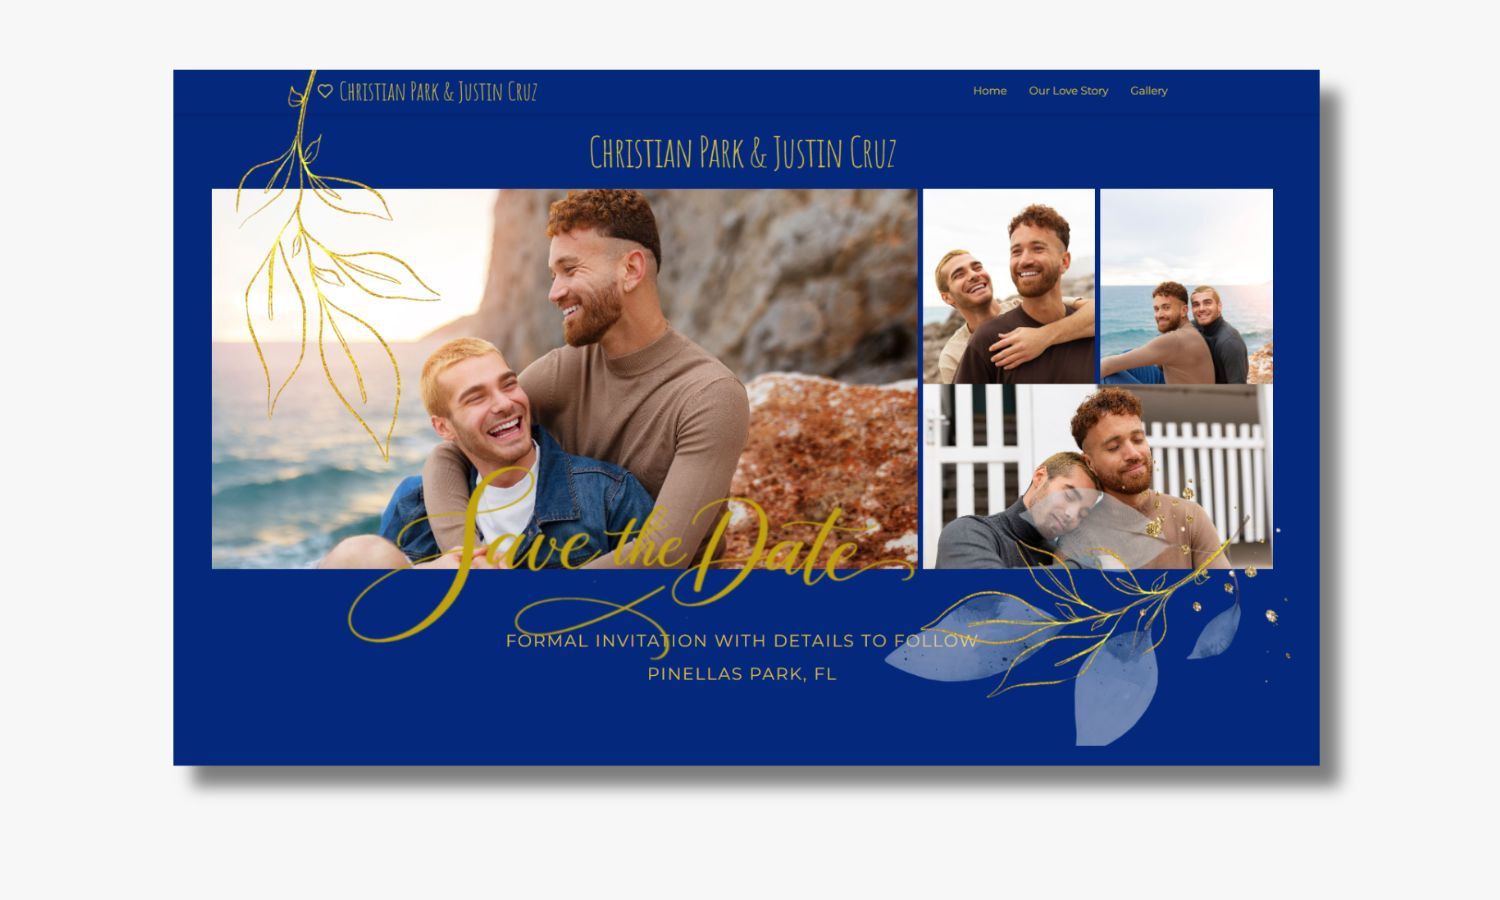
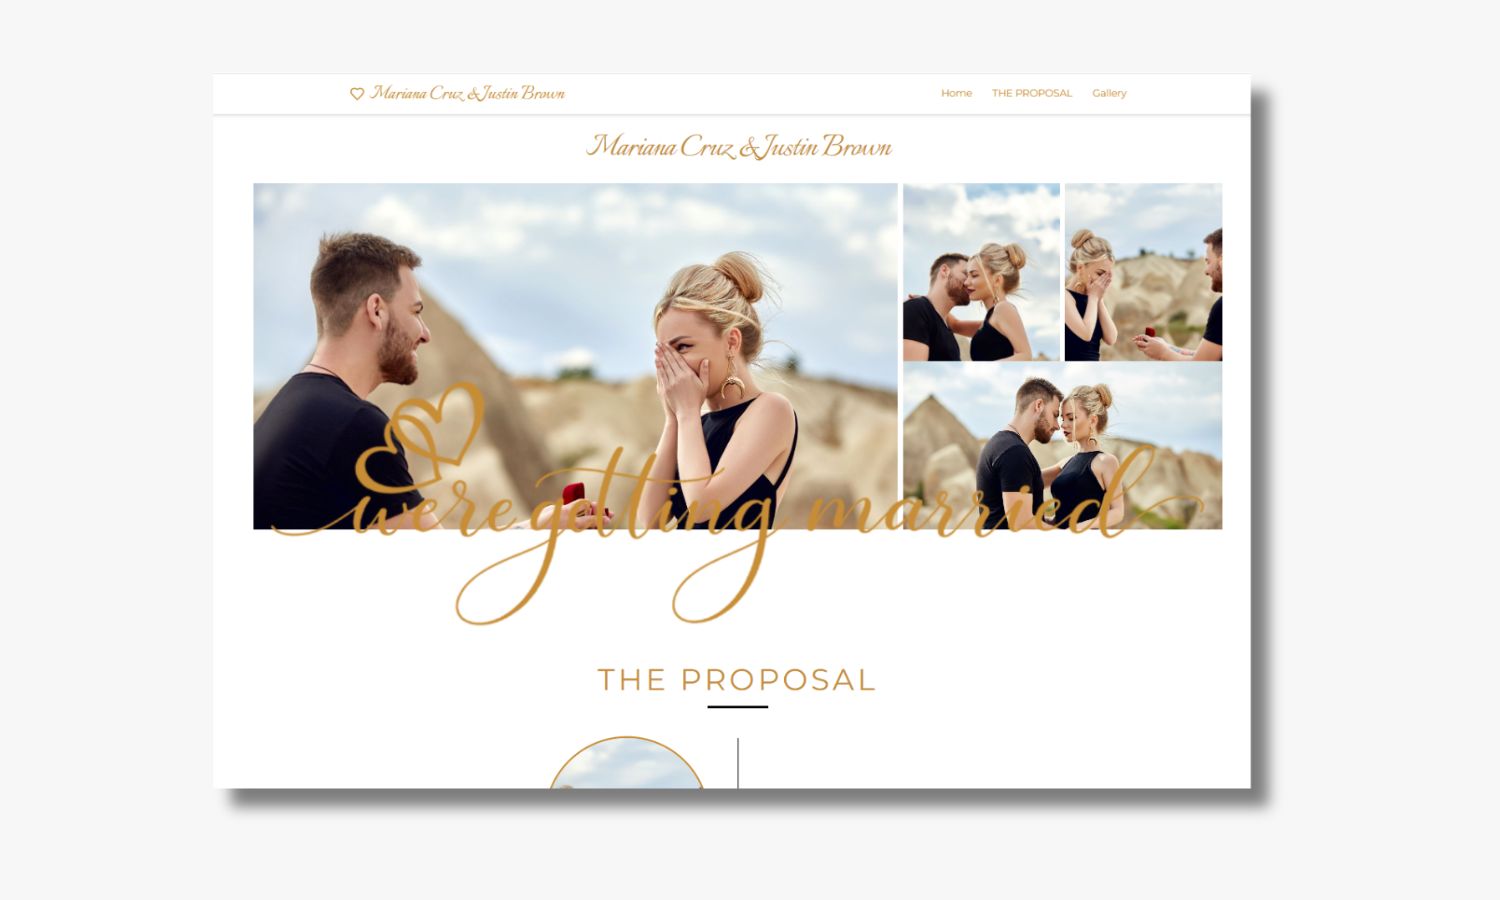
3. Photo Save the Date Cards with Custom Borders
Incorporating your engagement photos into your Save the Date is a popular trend. To give DIY photo cards a polished appeal:
- Choose high-resolution, professionally taken photos for crisp print quality.
- Create custom borders or frames in design software—or by adding washi tape or metallic stickers by hand.
- Use thick, glossy photo paper or matte photo cardstock to enhance the image’s vibrancy and texture.
- Opt for clean fonts layered over or below the photo without obscuring important features.
Photo Save the Date cards that resemble professional studio prints can easily be achieved with attention to detail.
4. Laser-Cut or Die-Cut Cards
DIY laser-cut or die-cut Save the Date cards make a bold statement with intricate designs or unique shapes. Options include:
- Using affordable online laser-cut services with your design that you created yourself.
- Employing craft punches for smaller laser-cut effects like hearts, florals, or initials.
- Designing geometric shapes such as circles, hexagons, or custom silhouettes.
- Pairing with translucent or vellum envelopes to showcase the cutouts.
These sophisticated designs catch the eye and add tactile interest without elaborate printing techniques.
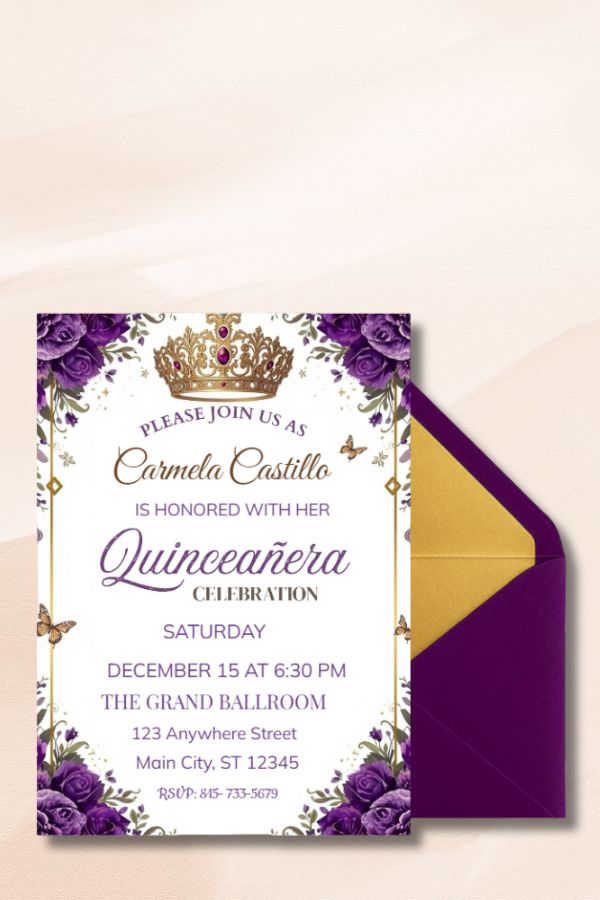
5. Watercolor Illustrations
Watercolor Save the Date cards infuse artistry and romantic flair into your wedding stationery. To create high-end-looking DIY watercolor cards:
- Paint your own backgrounds or floral motifs on heavyweight watercolor paper.
- Scan your paintings and create digital templates for printing multiple copies.
- Use complementary script or serif fonts alongside your art.
- Seal hand-painted cards with a quality fixative spray to prevent smudging during mailing.
This blend of handmade and printed elements feels sophisticated while showcasing your creativity.
6. Foil Accent Cards with DIY Foil Kits
Foiling adds a luxurious shimmer to Save the Date cards and is often associated with upscale stationery. You don’t have to pay a professional printer to get this effect. Thanks to DIY foil kits, you can:
- Add gold, rose gold, or silver foil details like borders, names, or wedding dates.
- Use a laminator or heat press tool with foil sheets designed for home use.
- Combine foil with minimalist designs or calligraphy for maximum elegance.
The shimmering accents instantly elevate your Save the Date cards to a premium level.
Key Materials and Tools for DIY Save the Date Cards
High-quality materials and tools make a substantial difference when DIYing Save the Date cards. Here are essentials to keep on hand:
- Heavyweight Cardstock: Choose 100 lb (270 gsm) or higher paper for professional sturdiness.
- Textured Paper: Linen, cotton, or felt textures enhance the tactile experience.
- Quality Printer: A high-resolution inkjet or laser printer for crisp text and images.
- Calligraphy Pens or Markers: If writing by hand, select smooth ink flow and fine tips.
- Design Software: Use programs like Adobe Illustrator, Canva, or Photoshop for layout.
- Envelopes: Match your cards with envelopes in premium paper or unique colors.
- Decorative Embellishments: Ribbon, wax seals, twine, or stickers add extra charm.
Investing in these tools upfront can streamline your DIY Save the Date process and produce professional-grade results.
SEO Tips for Promoting Your DIY Save the Date Blog Post
To ensure your content reaches couples searching for wedding stationery and planning inspiration, consider the following SEO best practices:
- Include Relevant Keywords Naturally: Examples include “DIY Save the Date,” “wedding Save the Date ideas,” “how to make Save the Date cards,” and “professional-looking wedding invites.”
- Optimize Meta Descriptions and Titles: Incorporate primary keywords and keep descriptions under 160 characters.
- Use Clear Headings and Subheadings: Organize content with
<h2>and<h3>tags reflecting keyword-rich topics. - Internal Linking: Link to other planning guides or related wedding content on your site to boost engagement.
- Mobile-Friendly Formatting: Ensure your blog is readable on smartphones, important for Google’s ranking.
- Encourage Social Sharing: Share your post with relevant hashtags like #SaveTheDateDIY and #WeddingPlanning on social media platforms.
Additional Tips for DIY Save the Date Success
Start Early
Send your Save the Date cards at least six to eight months before your wedding, especially if many guests will travel. Starting early gives you ample time for crafting, mailing, and handling any reprints.
Keep Guest List Updated
Confirm your guest list before designing and printing Save the Date cards to avoid last-minute changes and extra costs.
Maintain Design Consistency
Ensure that your Save the Date designs match your wedding invitations and overall theme to create a unified experience for your guests.
Test Print Before Bulk
Print a few test copies to check colors, fonts, and layout. Viewing physical samples helps catch design errors or adjustments needed for a high-end look.
Conclusion
DIY Save the Date cards are a fantastic way to add a personal touch to your wedding announcements without compromising on style or quality. By selecting the right materials, leveraging simple design principles, and incorporating creative techniques like calligraphy, foiling, or watercolor art, you can create professional and high-end looking wedding stationery on your own.
With these expert-approved DIY Save the Date ideas, you are equipped to impress your guests from the very first wedding correspondence. The perfect blend of creativity, craftsmanship, and attention to detail will make your Save the Date cards memorable keepsakes for your loved ones.