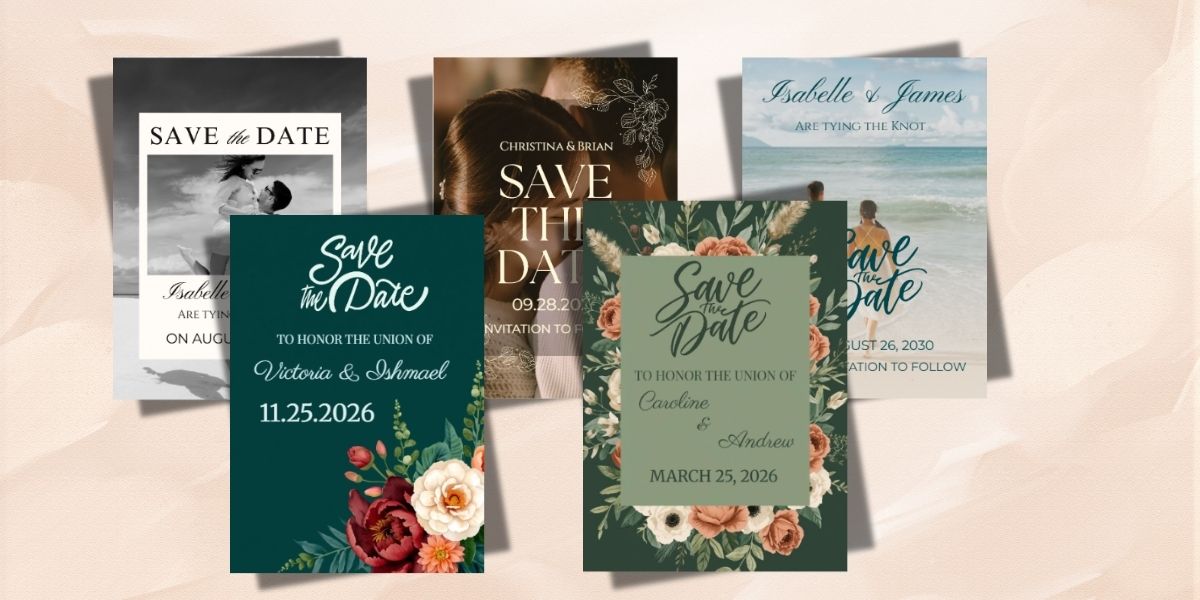
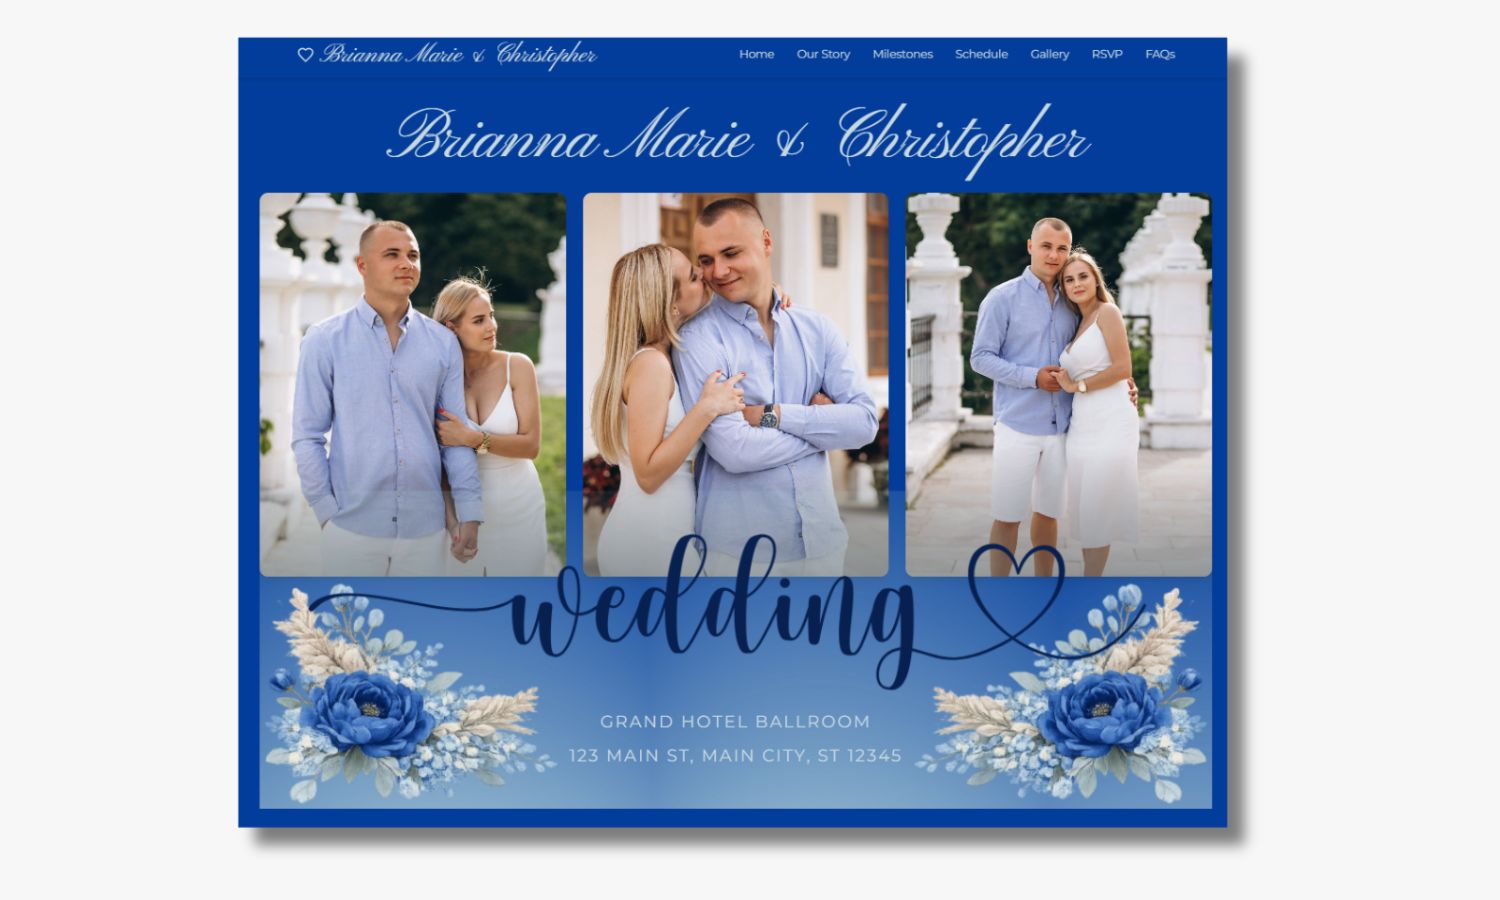
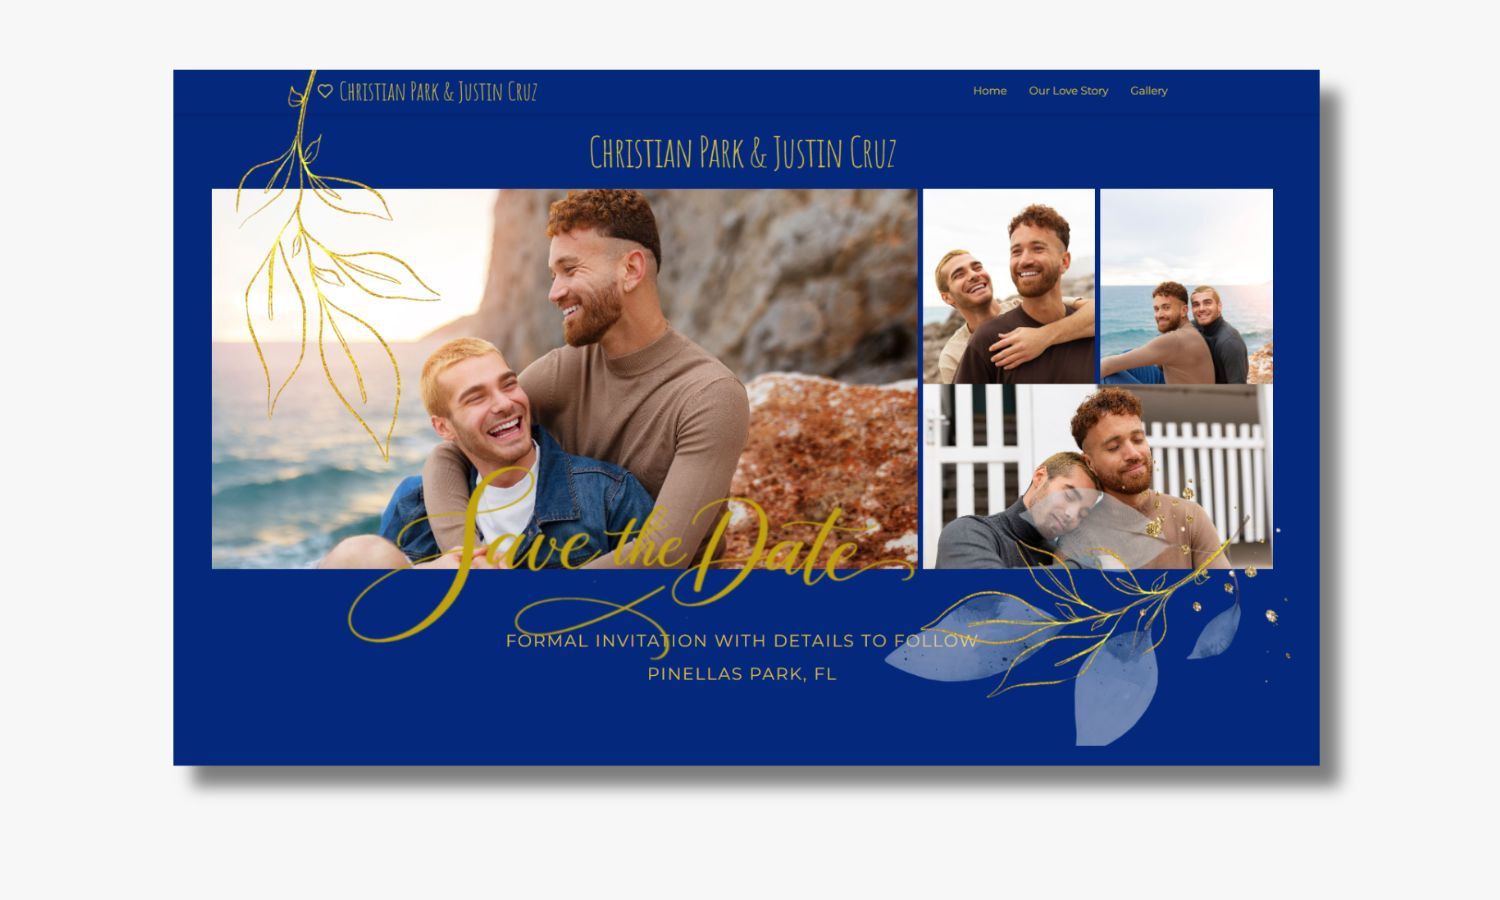
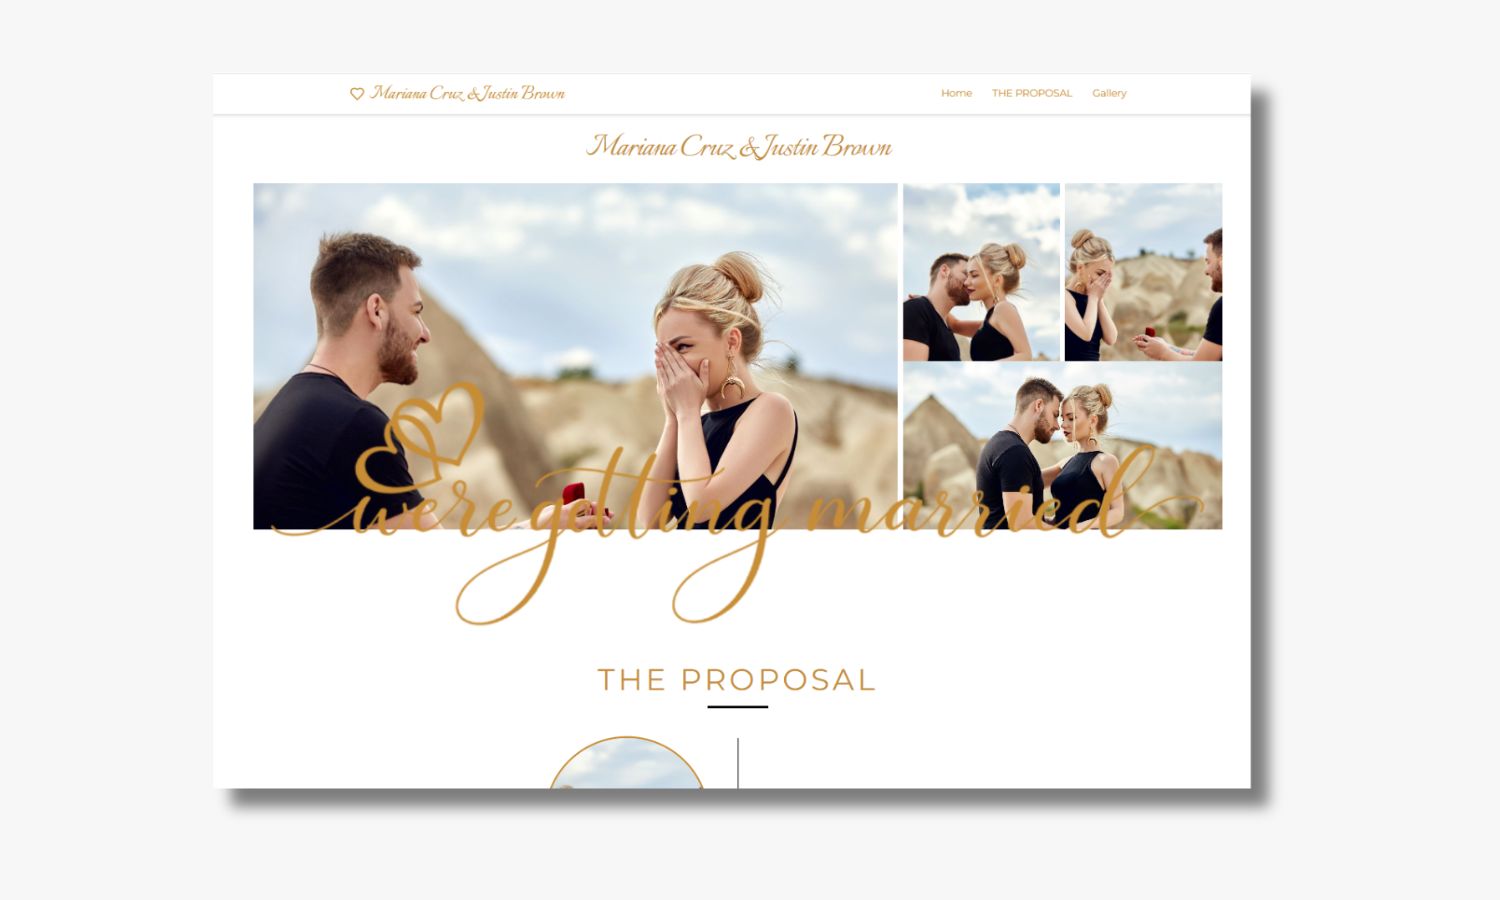
How to Take the Perfect Engagement Photo for Your Save the Dates
Engagement photos are more than just pictures; they capture the excitement and love that surrounds your upcoming wedding. These images often serve as the centerpiece for your save the date cards, setting the tone for your wedding invitations and giving guests a glimpse of your unique style as a couple. Whether you are working with a professional photographer or planning a DIY photoshoot, understanding how to take the perfect engagement photo is essential for creating memorable and stunning save the dates.
Why Engagement Photos Matter for Your Save the Dates
Save the date cards are the first official communication with your guests about your wedding. Including an engagement photo adds a personal and romantic touch that invites your loved ones into your story. Engagement photos can:
- Create a lasting first impression of your wedding theme and style
- Help guests connect with your love story before the big day
- Make your save the dates feel more intimate and unique
- Be shared easily on social media and wedding websites for wider reach
Because these photos play such an important role, investing time and effort into making them perfect is a crucial step in your wedding planning journey.
Preparation Tips for Your Engagement Photo Shoot
1. Choose the Right Location
The setting of your engagement photos will shape the overall mood and aesthetic. Consider locations that are meaningful to your relationship or fit your wedding theme. Popular options include:
- Urban cityscapes with vibrant backgrounds
- Natural settings like parks, beaches, or gardens
- Historic landmarks or quaint neighborhoods
- Your own home or a cozy indoor space
Think about lighting, accessibility, and how comfortable you’ll feel in the location for an authentic and relaxed photoshoot experience.
2. Pick Outfits That Reflect Your Style
Your wardrobe choices can greatly impact the final look of your engagement photos. Opt for outfits that:
- Coordinate well with your chosen location and wedding colors
- Highlight your personalities and personal style
- Are comfortable for sitting, standing, and moving around
- Include layers or accessories to add visual interest
Avoid overly busy patterns or logos that can distract from the focus of the photo — you and your partner.
3. Plan Your Poses and Expressions
Natural moments often make the best engagement photos. Discuss with your photographer or partner about:
- Casual, candid interactions like walking hand in hand or sharing a laugh
- Classic romantic poses such as forehead touches or gentle embraces
- Unique angles and shapes that showcase your chemistry
- Incorporating props or activities that reflect your hobbies or story
A mix of relaxed and posed shots will give you versatile options for your save the date cards.
Best Practices for Capturing the Perfect Engagement Photo
1. Use Natural Lighting
Lighting can make or break your engagement photos. The best light sources are usually natural, soft, and even. Here are some tips to leverage lighting:
- Schedule your session during the “golden hour” just after sunrise or before sunset for warm, flattering light
- Avoid harsh midday sunlight which can cause unflattering shadows
- Consider shaded areas to keep the light diffused and gentle
- Use reflectors if needed to brighten shadowed areas
2. Focus on Genuine Emotion
Your save the dates should radiate the genuine love that you and your partner share. To capture authentic emotion:
- Relax and enjoy the moment rather than forcing poses
- Interact naturally—whisper jokes, share memories, or dance together
- Trust your photographer to guide you gently and capture candid shots
- Take a few breaks if nerves start to show and reconnect with each other
3. Get Creative With Composition
The way your engagement photo is framed has a big impact on its effectiveness. Consider:
- Rule of thirds for balanced and dynamic compositions
- Using foreground elements to add depth
- Experimenting with different perspectives—low angles, close-ups, or wide shots
- Framing your photo to create natural borders like doorways or tree branches
The goal is to produce a visually engaging and romantic image that stands out on your save the dates.
Editing and Finalizing Your Engagement Photos for Save the Dates
1. Choose the Best Shots
After your photo session, review all the pictures and select the ones that truly capture your love and convey the mood you want. Prioritize images where both you and your partner look relaxed and happy.
2. Enhance with Subtle Editing
Editing can elevate your images but should remain natural. Adjustments can include:
- Brightness and contrast to enhance colors
- Color correction to match your wedding palette
- Removing minor blemishes or distractions
- Applying gentle filters for a cohesive aesthetic
A professional photographer typically provides beautifully edited images, but if you’re editing yourself, use software that allows fine control for a polished result.
3. Format for Print and Digital Use
Save the engagement photos in high resolution for printing on your save the date cards, but also optimize versions for digital use such as social media and email announcements. Common considerations include:
- Saving images in JPEG or PNG formats with high quality
- Choosing the right dimensions and aspect ratio—4x6 or 5x7 are popular print sizes
- Ensuring color profiles are suitable for both screen and print
- Compressing images carefully to maintain quality while minimizing file size for online uploads
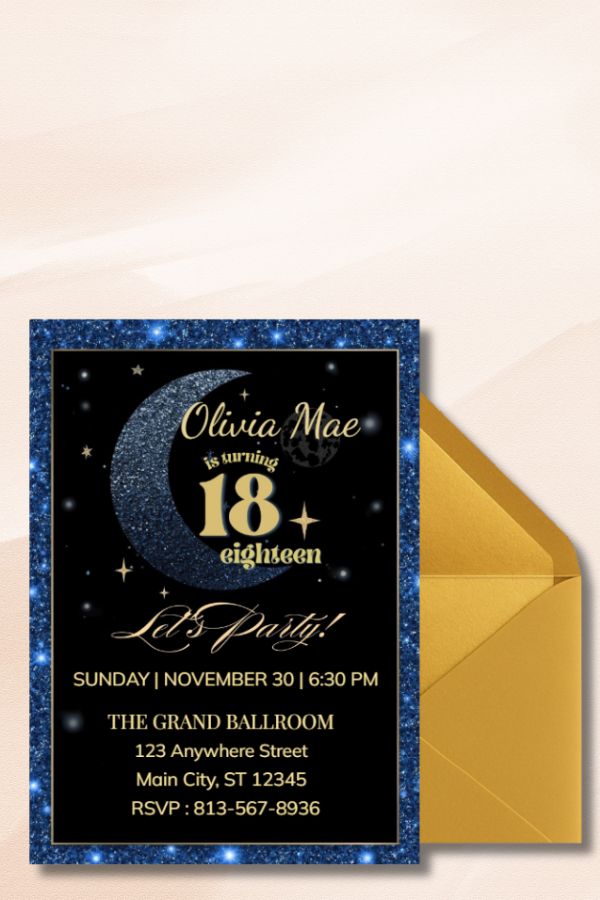
Incorporating Your Engagement Photo Into Save the Date Cards
1. Match Your Wedding Theme and Colors
Your save the date design should complement your engagement photo without overshadowing it. Use colors and fonts that align with your wedding invitations and overall theme. This consistency helps create a cohesive wedding brand.
2. Consider Layout and Space
Balance your photo with space for important details like names, date, and location. Popular layouts include:
- Full-bleed photos with text overlay
- Split cards with photo on one side and information on the other
- Framed photos with borders that incorporate decorative elements
Allow enough white space to keep designs clean and readable.
3. Use Clear and Concise Wording
Keep the save the date message simple but effective. Typically, it includes:
- The couple’s names
- Wedding date
- Location (optional)
- A note to “Save the Date” or “Formal Invitation to Follow”
Use legible fonts that contrast well with your photo.
Additional Tips for the Perfect Engagement Photo Experience
- Communicate with Your Photographer: Share your vision, style preferences, and any specific photo ideas ahead of time.
- Bring Along a Support Buddy: A friend, family member, or wedding planner can help keep the mood light and make you feel comfortable.
- Stay Hydrated and Take Breaks: Especially if shooting outdoors to maintain energy and enthusiasm.
- Practice Makes Perfect: Try some poses and smiles in front of the mirror before the shoot to feel confident.
Conclusion
Taking the perfect engagement photo for your save the dates involves thoughtful preparation, creative vision, and capturing genuine intimacy. By selecting the right location, coordinating outfits, and focusing on natural interactions, you can produce timeless photos that beautifully represent your love and the upcoming wedding celebration. Leveraging proper lighting, composition, and editing will ensure your engagement images shine both in print and online. Approaching the process with excitement and authenticity will result in save the date cards that your friends and family will treasure long after the big day.